
Homemade beer pong table
-
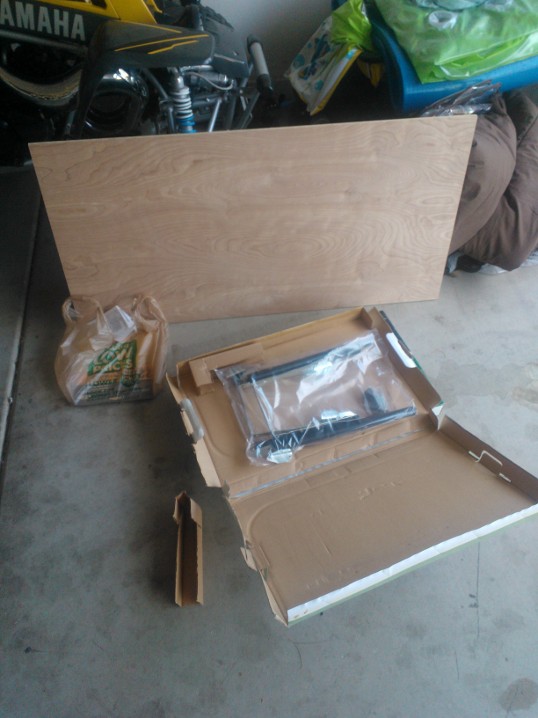 Beer pong table materials
 -
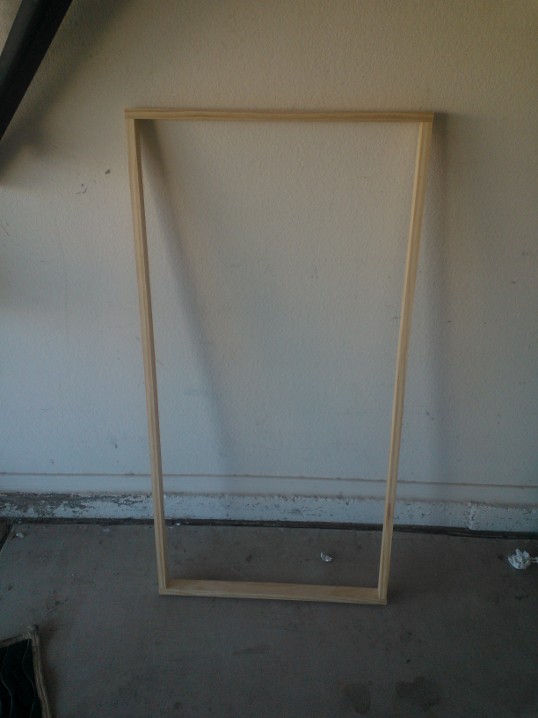 Beer pong table frame
 -
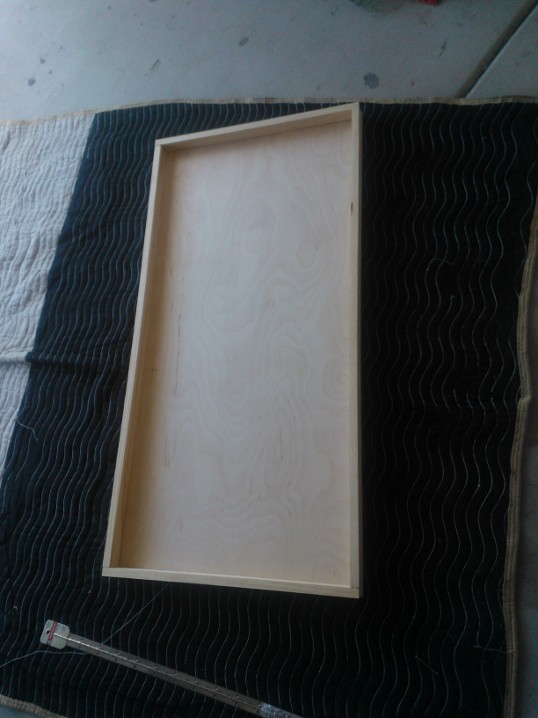 Beer pong table frame and top
 -
 Beer pong table hinge
 -
 Beer pong table hinge 2
 -
 Beer pong table closed
 -
 Beer pong table top, unfinished
 -
 Beer pong table legs
 -
 Beer pong table center
 -
 Beer pong table done
 -
 Beer pong table stain
 -
 Beer pong table complete
 -
 Beer pong table complete
In preparation for the holidays and some upcoming parties, I decided to build my own beer pong table. Everyone loves them, myself included. After browsing around the Internet for a few minutes and viewing some how-to’s, I figured I can make my own table. Of course I was a little worried at first. Usually my ideas outweigh my abilities, but I dug in anyways.
The Materials
The materials used to create this table were fairly basic, cheap, and all available at Home Depot. The materials included:
- 2 2’x4′ sheets of plywood (for the table top)
- 3 1″x2″x8′ wood planks (for the frame)
- 1 set of folding table legs
- 1 piano/continuous hinge (to allow the table to fold in half)
- Wood glue
- Wood stain and finish
- Lots of screws
The Concept
Standard beer pong tables are 2 feet wide and 8 feet long. I wanted to have my table fold in half to make storage and transportation easier. To do this I decided to build the table in two identical pieces. Each piece would be 2 feet by 4 feet. A hinge would connect the two pieces together allowing the table to fold in half. The folding table legs would also fit inside the frame of each piece, hiding the legs when the table was folded in half.
Building the Table
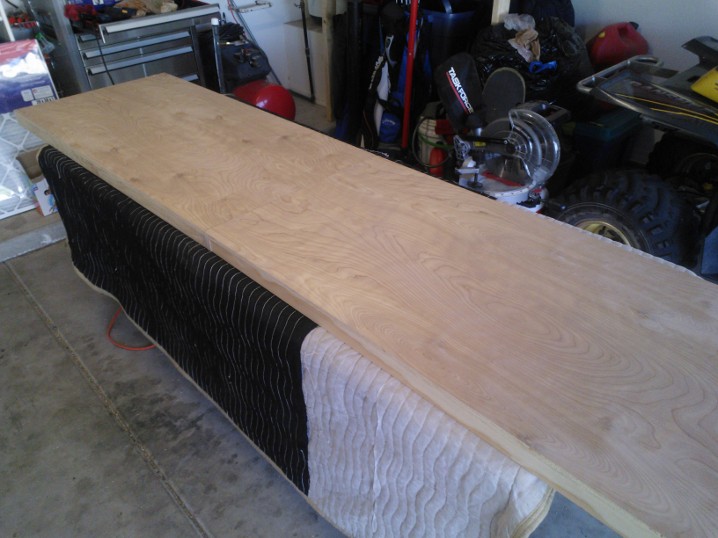
The first step was creating the frame to support the table top. I used the 1″x2″ planks to build the frame out. Using a measuring tap and chop saw I cut the planks to size and attached the pieces together using screws. I had to build two of these, one for each side.
Beer pong table frame
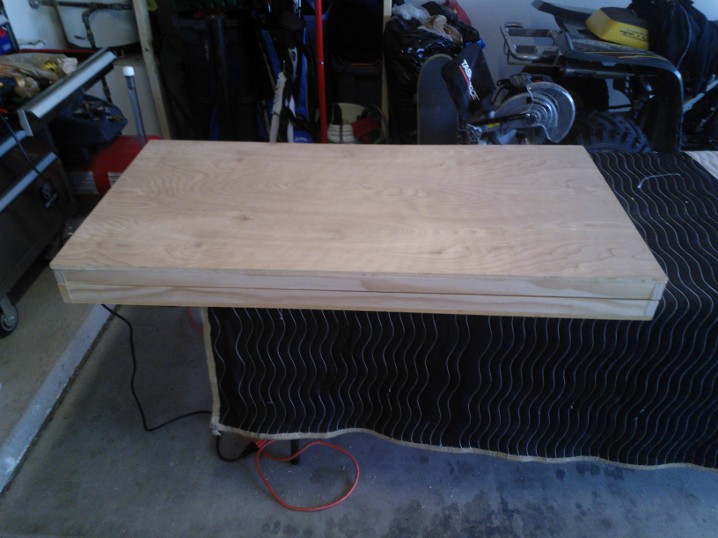
I then connected the frame to the plywood table top using a combination of screws and wood glue. Thanks to my lack of woodworking talent, the frame didn’t quite line up flush with the table top. Using a sander though I should be able to sand everything flush and even.
Beer pong table frame and top
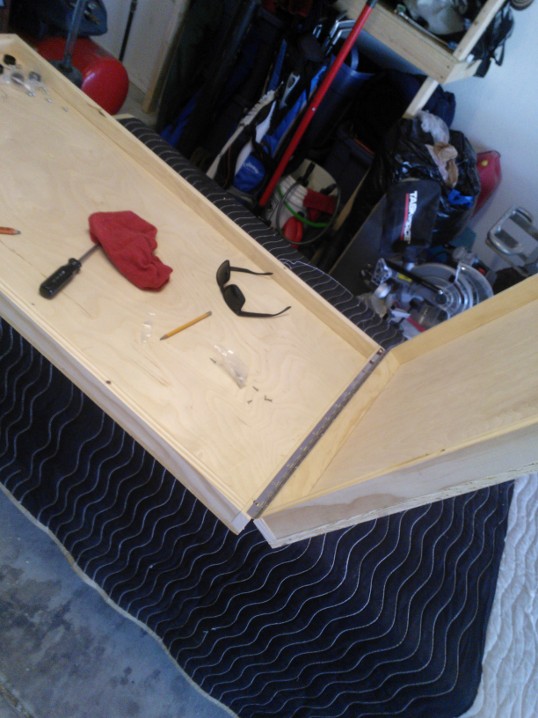
I then decided to attach the piano hinge to test its function and alignment. First, I had to use a hacksaw to cut the hinge to size. After that the hinge was simply attached to the two table tops using screws.
Beer pong table hinge
Beer pong table hinge 2
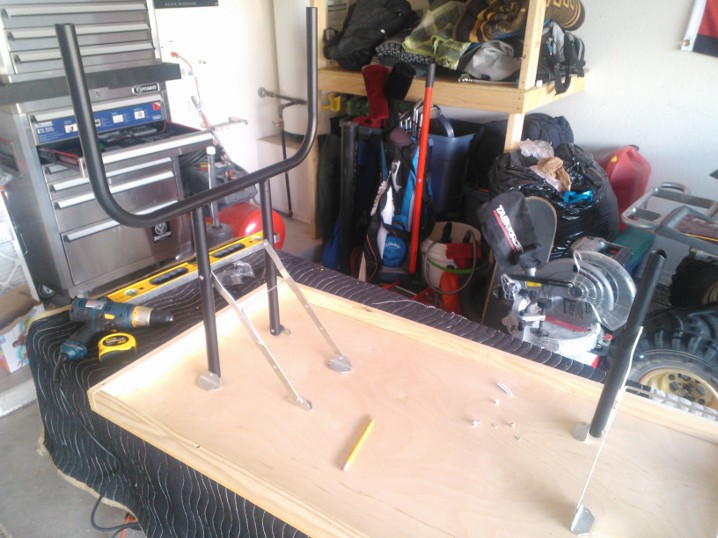
After the hinge was successfully attached and adjusted, the legs were then attached. This proved to be the biggest hurdle of the project so far. First off, the legs were too wide. This means they wouldn’t fit inside the frame when folded up (an oversight on my part). Second, securely attaching the legs to the 1/4″ table top without ruining the table top was a headscratcher.
Beer pong table legs
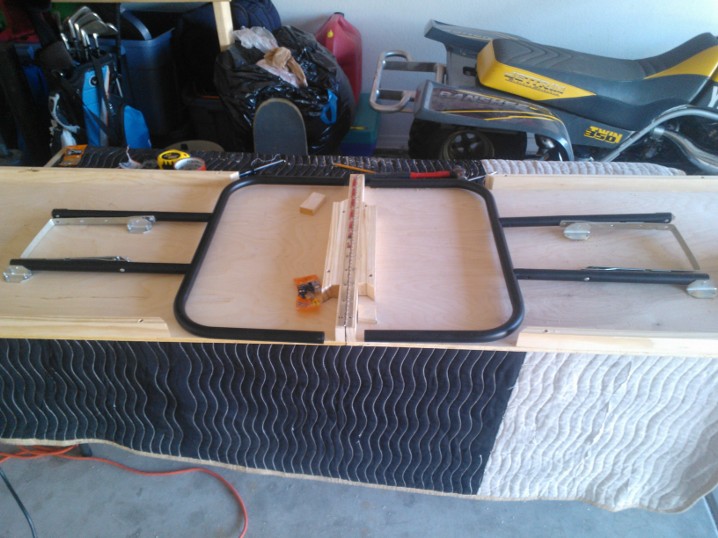
To solve the first issue, I decided to cut out part of the frame to allow room for the table legs when folded up. With part of the frame removed, the central hinge needed to be reinforced. I used some excess wood to do this.
Beer pong table center
To solve the second problem, I decided to drill straight through the table top and attach the legs using nuts and bolts with a flush bolt head. I went ahead and sunk the bolt head into the table top so I could then use wood putty to cover up the bolt heads.
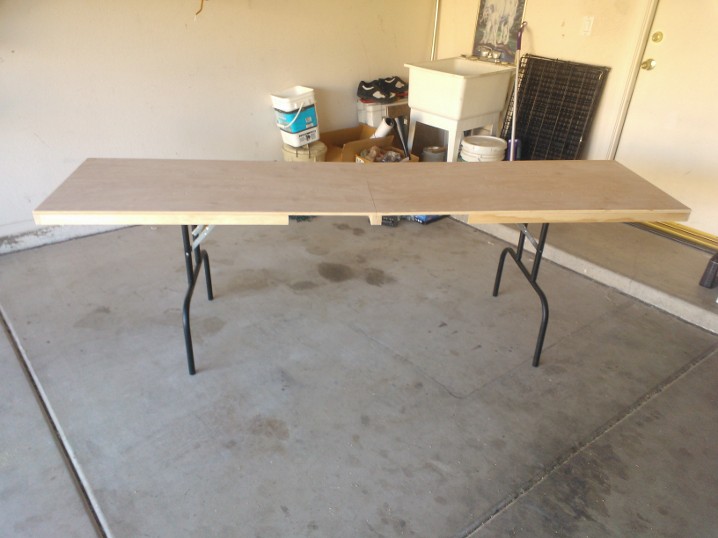
Beer pong table done
With the legs now firmly attached I was able to unfold and stand up the table on its own. The center is still a little wobbly and dips down in the middle. I’ll have to figure out how to reinforce the middle more. For the time being I might just cut a piece of wood to match the height of the table and prop it under the middle for extra support. In the long run I can try to run some wood long ways under the table to keep the center from dipping down.
The next steps include sanding down the entire table. After that I decided to stain the table with a dark brown stain. I went ahead and applied two coats of stain.
Beer pong table stain
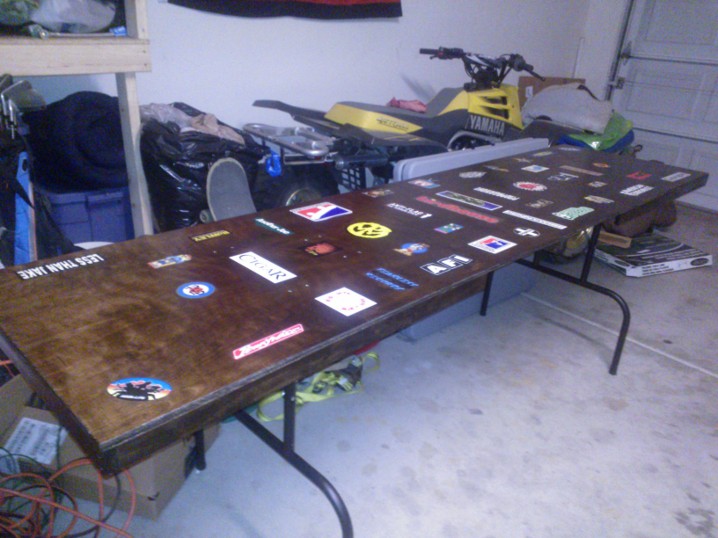
After allowing the stain to dry overnight I collected all my stickers to start laying out the placement of each item. The idea here was to create a trash/punk table with lots of stickers stuck to the table. After all the stickers were laid out, two coats of clear semigloss polyurethane were brushed onto the table and over the stickers. The polyurethane will help to seal/waterproof the wood and stickers.
Beer pong table complete
Beer pong table complete
The final table works great, but is a little wobbly. If I ever decided to build another table, I will go for a thicker table top (1/2″ instead of 1/4″), and will make the table wider to properly house the the folding legs. All in all, it cost me about $75 for all the materials which is a lot cheaper than buying a pre-made beer pong table.


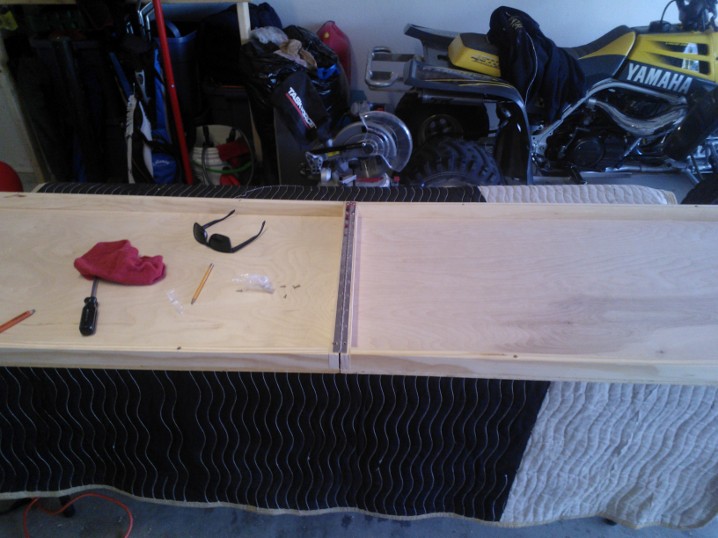
To make it easy to screw the table frame to the table top, I glued some blocks to the longer rails. These have 3/8″ holes in them so that screws can be screwed through them from the bottom, and into the table top.
Im curious how you got that price, i just went by Home Depot & everything was looking at almost $90
My apologies. I already had the glue, stain, and screws so the cost was slightly lower than if you had to buy all of those items.
Thanks for posting this in great detail. used it as a base for my own table. http://imgur.com/a/5bddn
That looks great! If I could re-do my table I would use thicker boards like you did to make it a bit more sturdy.
Where did you get your table legs?
I got the table legs from Home Depot along with the rest of the materials. Here’s a link:
Table Legs
dude i would like to ask how did you screw in the screws from the table legs to the table without the screws popping out?
To solve this problem, I decided to drill straight through the table top and attach the legs using nuts and bolts with a flush bolt head. I went ahead and sunk the bolt head into the table top so I could then use wood putty to cover up the bolt heads.